Policies can be made and added as a required step during Online Registration to help gather additional information from families to make a decision about enrollment. They are then kept on the child's file for future reference. Use policies to:
- Gather digital signatures to reduce paperwork.
- Create agreements between families and your business before a child is enrolled.
- Assign different policies to different Programs, based on need.
View Policies
Follow these steps to view policies already existing for your business. If no policies exist yet, skip ahead to creating one!
- Go to Settings (left menu) > Business Settings card > Manage Policies.
- Click the Expand icon
 to see details for all policies.
 - Click the Options icon
 > View on the card of the policy you want to see agreement details for.

Create a Policy
Follow these steps to create a policy. Policies can later be added to an Online Registration form.
Create a New Policy
- Go to Settings (left menu) > Business Settings card > Manage Policies.
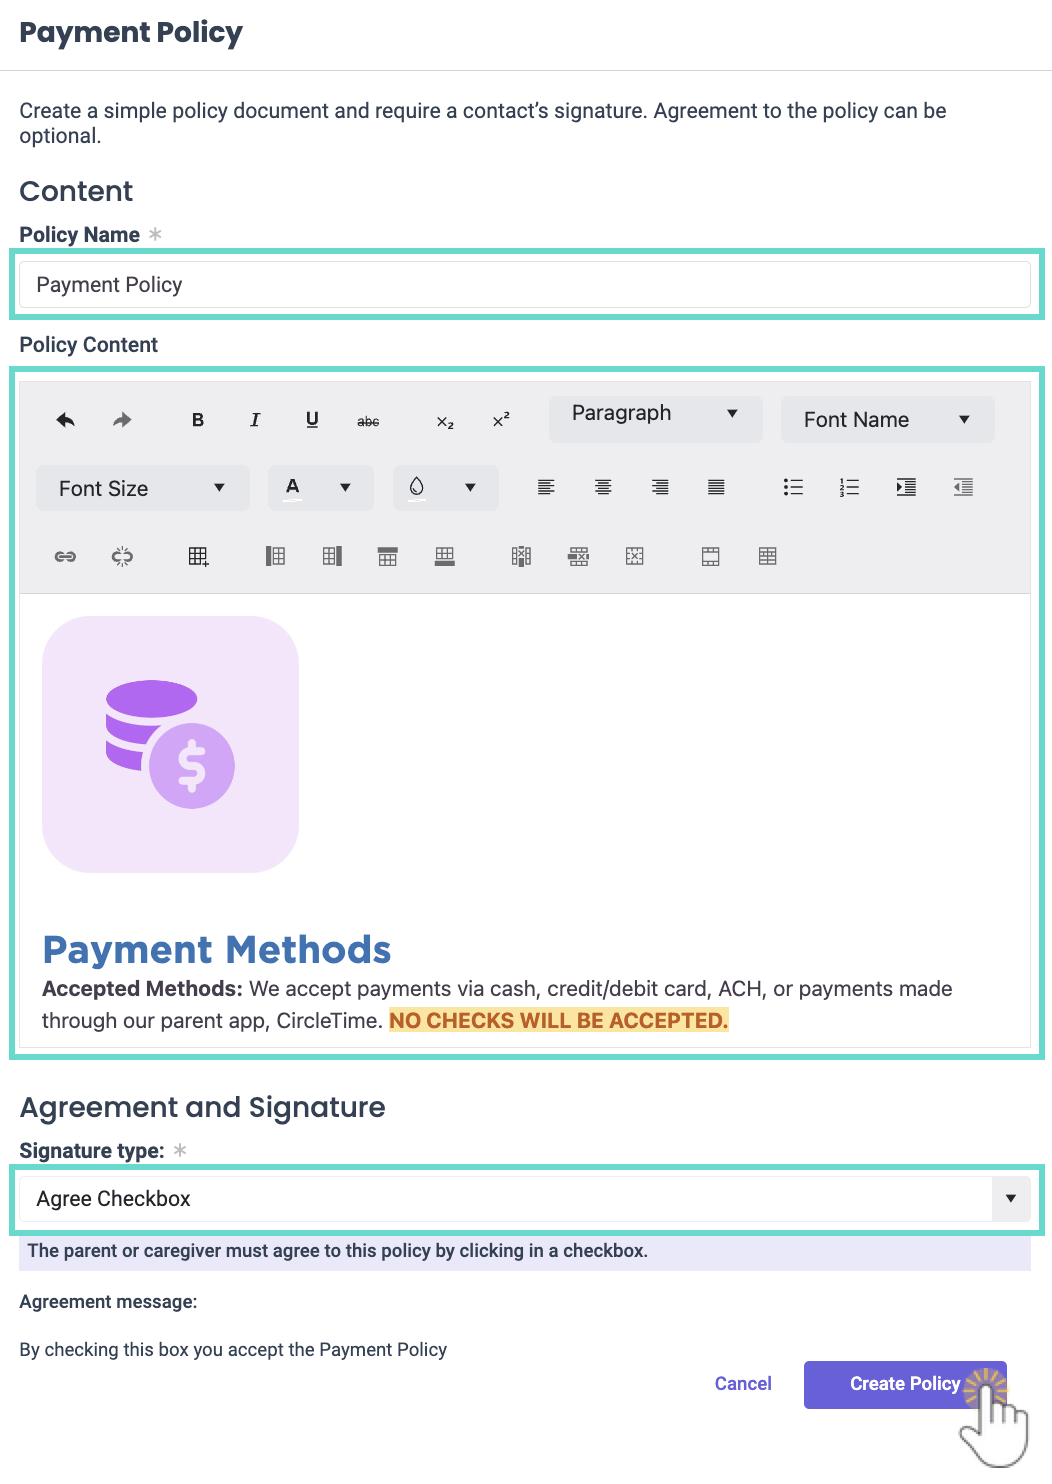
- Click the + New Policy button.
- Enter a required Policy Name.
- Add the required Policy Content and use the toolbar to edit the text's formatting and style. To add an image, copy it to your clipboard and paste it into the textbox.
- Select a required Signature type from the drop-down list, such as Agree Checkbox, Agree/Disagree Checkbox, No Signature, or Digital Signature.
- Click Create Policy, and the new policy will be added to the Policies page.

You may also add a new policy when adding steps while Creating an Online Registration Form.
Duplicate a Policy
- Go to Settings (left menu) > Business Settings card > Manage Policies.
- Click the Options icon
 > Duplicate on the card of the policy you want to duplicate.
- A new policy will appear with the original name plus - Duplicate added.

- A new policy will appear with the original name plus - Duplicate added.
- Click the Options icon
 > Edit on the new, duplicated policy to make any changes.

Edit Existing Policies
Policies that are not in use on an Online Registration form can be edited. Unused policies will appear with a Not Used badge on their card.
- Go to Settings (left menu) > Business Settings card > Manage Policies.
- Click the Options icon
 > Edit on the policy card you want to make edits to.

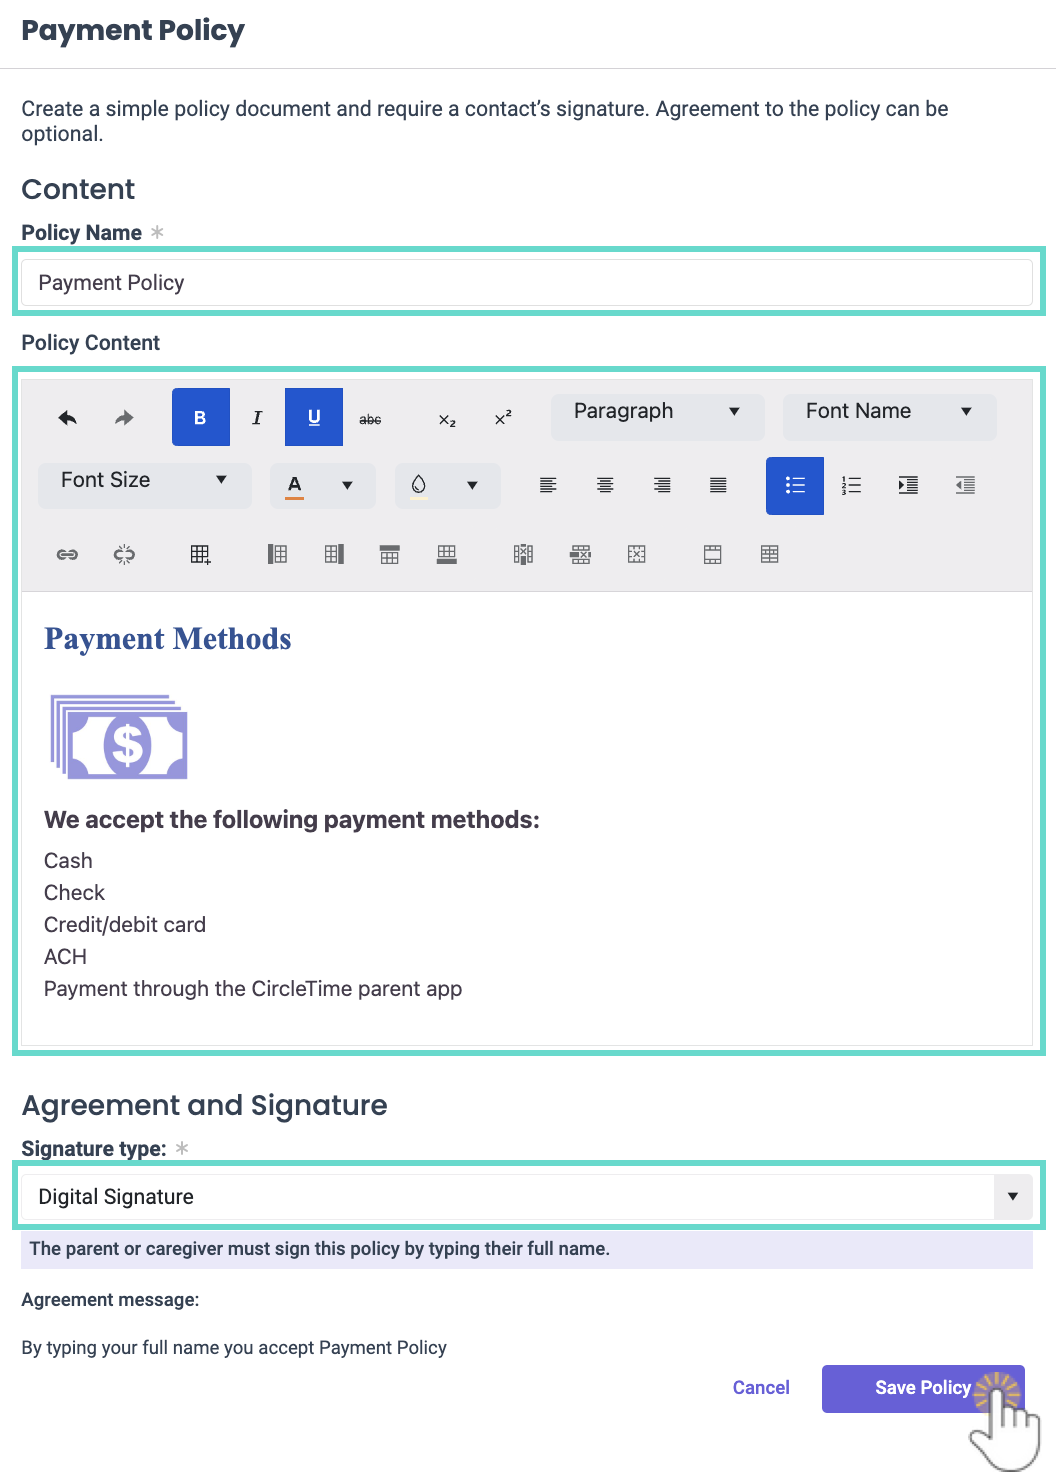
- Make edits to the existing policy, including:
- Change the Policy name.
- Use the text box and toolbar to edit the text's formatting and style. To add an image, copy it to your clipboard and paste it into the textbox.
- Change the Signature type required.
- Click Save Policy when finished.

View Agreed-to Policies
On a Completed Registration
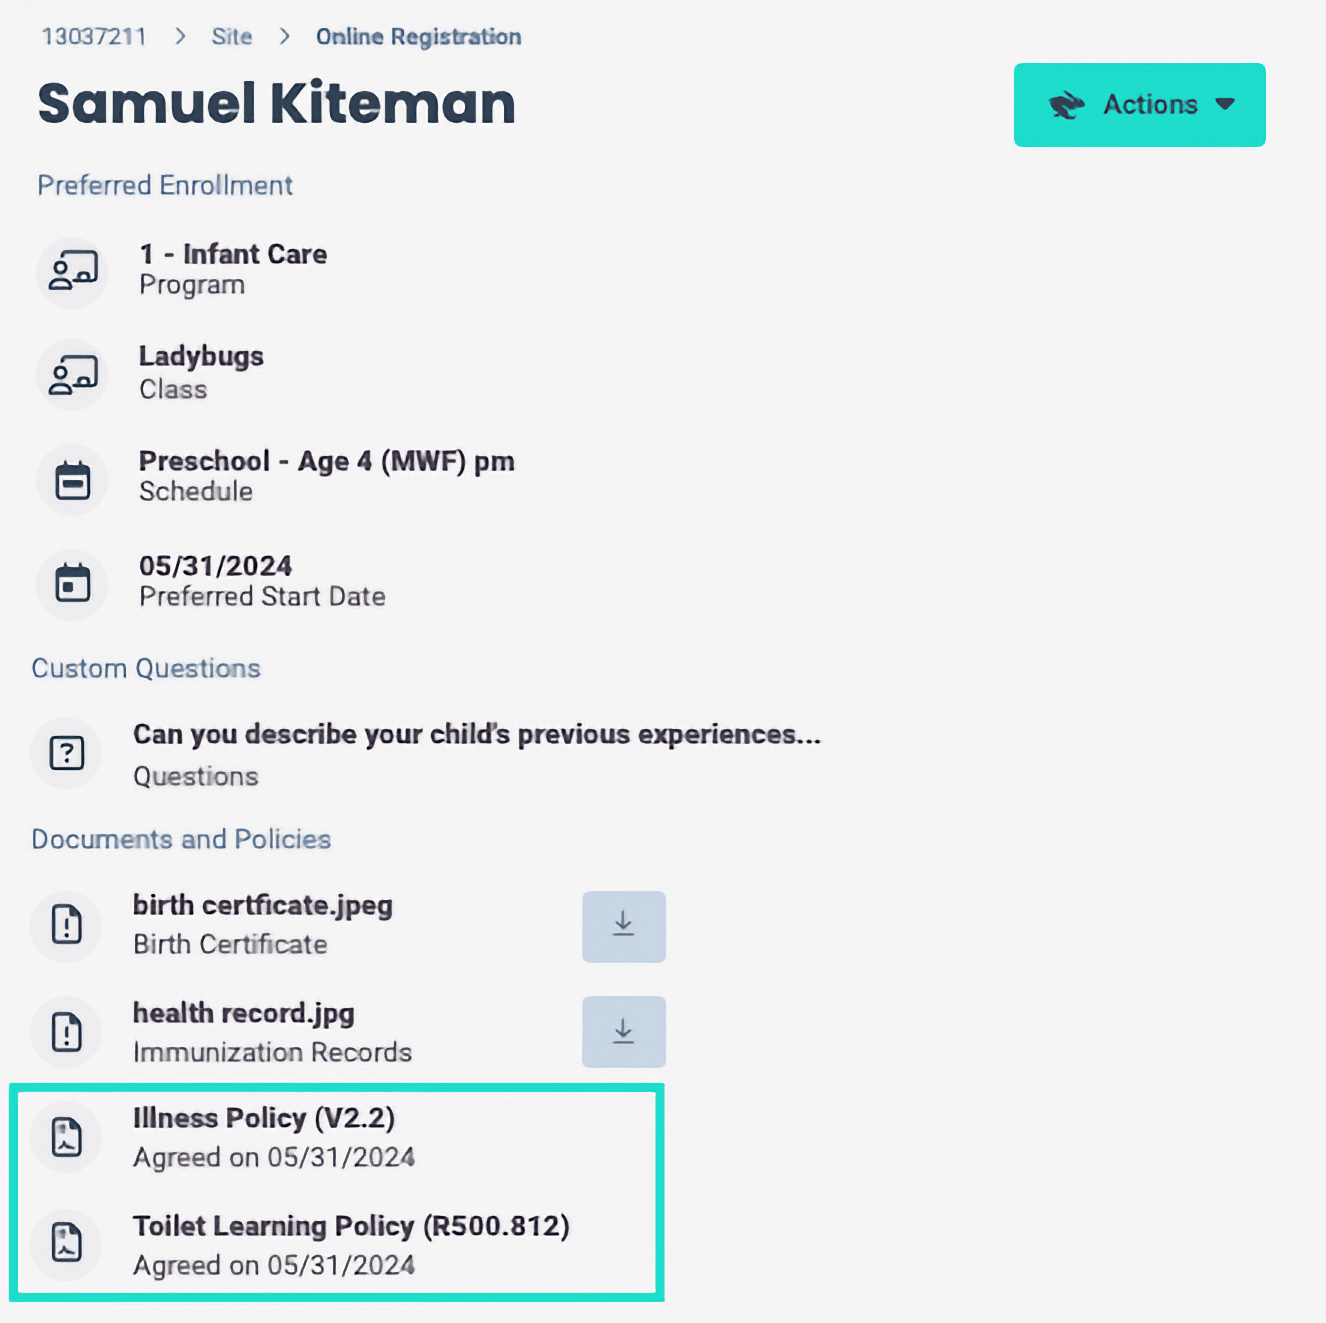
Once a family agrees to policies during Online Registration, follow these steps to see their agreements on the Online Registration form:
- Go to Enrollment (left menu) > Online Registration card > View Recieved Registrations.
- Go to either the Pending or History tab to find the registration, depending on whether it has been approved or not.
- Click Review if the registration is on the Pending tab or View if the registration is on the History tab.
- Find the Documents and Policies section. Any agreed-to policy will show with Agreed on MM/DD/YYYY.

From a Child's Account
After a child is enrolled, follow these steps to see a family's policy agreements on a child's account:
- Go to Family Accounts (left menu) > Profiles card > View # Active Family Accounts.
- Select the family card for the child you want to see, then click the child's name in the Children section.
- Click the Policies tab.
- Find the Registration and Class, then click the View icon
 on that line.

To delete previously answered policies from a child's account, click the Trash icon![]() .
.
Print Agreed-to Policies
Follow these steps to print agreed-to policies from families:
- Go to Family Accounts (left menu) > Profiles card > View # Active Family Accounts.
- Select the family card for the child you want to see, then click the child's name in the Children section.
- Click the Policies tab.
- Find the Registration and Class, then click the View icon
 on that line.
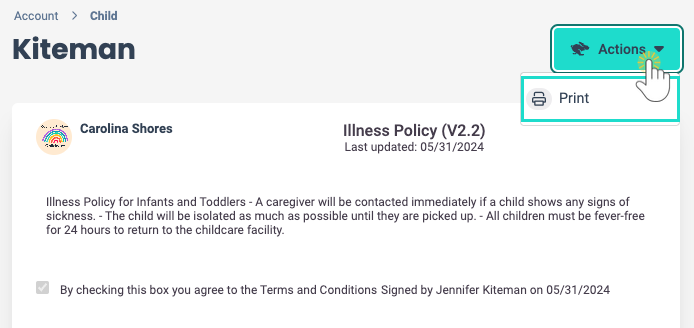
 - Go to the Actions menu > Print.

Frequently Asked Questions
Q. Why can't I edit a policy that's in use?
A. A policy is a legal agreement between families and your center. Editing a policy that is already attached to an Online Registration form can alter the agreement made. To edit a policy you are currently using, detach it from the Online Registration form, edit it, and then reattach it for future registrations or enrollments.


