Programs are the top-level categories used to organize your childcare center. All classes are assigned to a Program when they are created. Here are a few examples of Programs you might have at your childcare center:
- Infants
- Preschool
- Before and After School Care
- Summer Session
Both an Owner and Administrator automatically have the permissions to create Programs. However, an Administrator is limited to creating Programs for the site(s) assigned to them when they are added as a Team Member.
Create a Program
Ensure the correct site is selected at the top of the page, then follow these steps to create a Program:
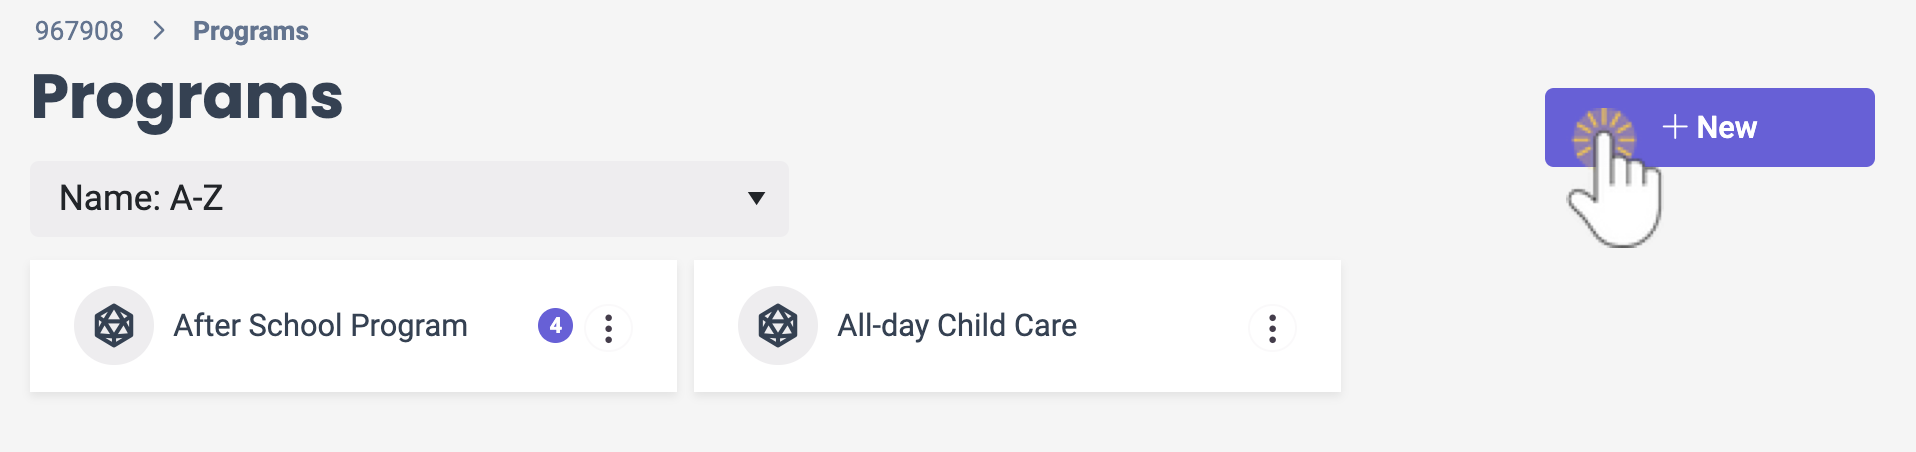
- Go to Programs & Classes (left menu) > Programs & Schedules card > View All Programs.
- Click the +New button
 to open the Program Name window.
- Enter the Name of the Program.
- Click Save, and the Program will be added to the Programs page alphabetically. Repeat these steps to add as many Programs as needed for your childcare center.
 to open the Program Name window.
Add classes right from the Programs page. Click the Actions menu > New Class. After completing the steps to add the class, use the links on the new class page (Details tab) to add the Space, Schedules, Ratio, and Assign Teachers. See Create & Manage Classes for more information about classes.
View Program Details
To view a Program's details, go to Programs & Classes (left menu) > Programs & Schedules card > View All Programs.
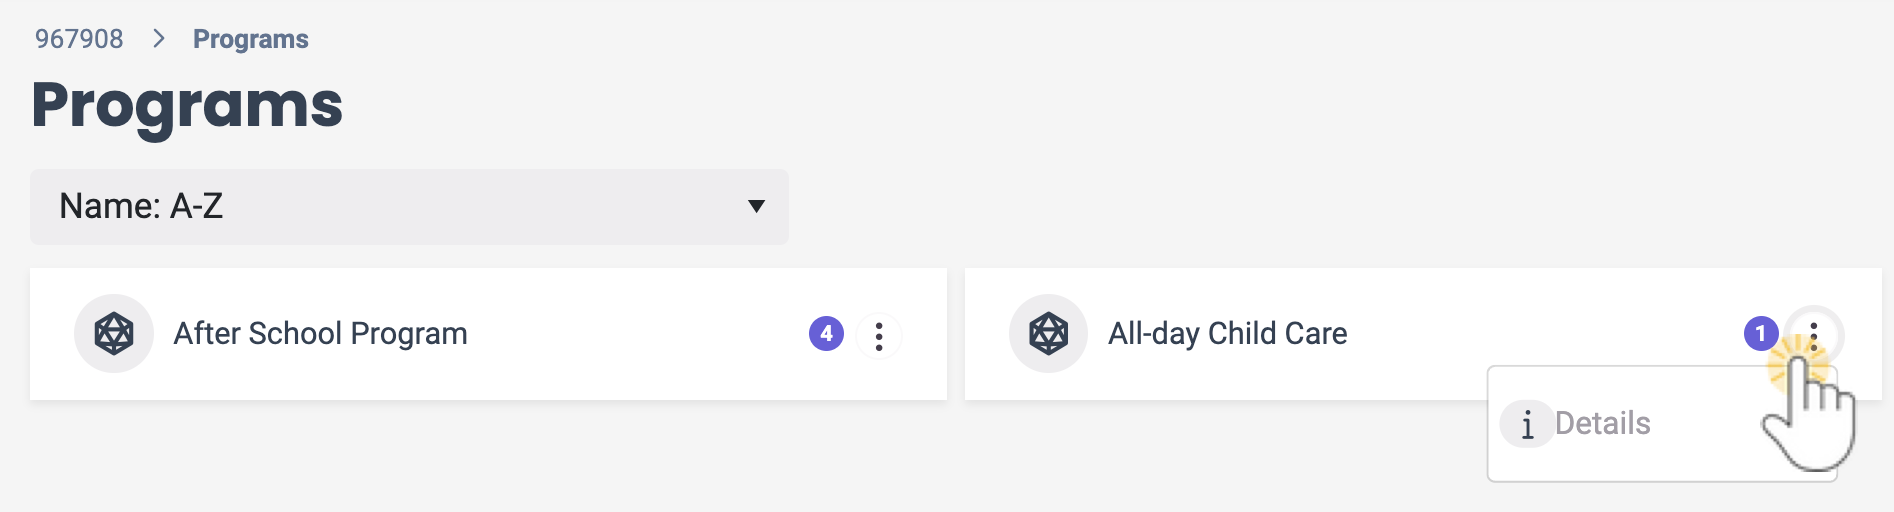
Use these features found on a Program card:
- Click the Options icon
 > Details to open the Program with the Details tab selected.
 - The color circles indicates the number of classes each Program is assigned to at the site that is selected.

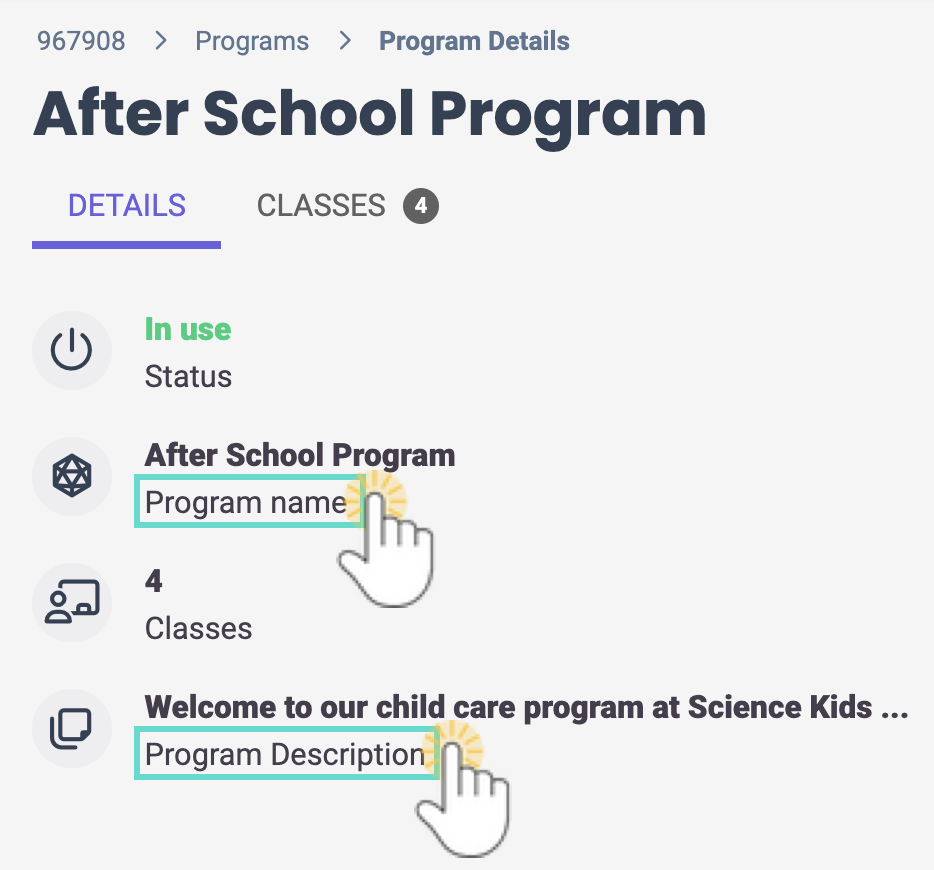
Click a Program card to go to a Program's Details or Classes tab:
- Details - Under this tab, view the Program Status, the Program name, how many Classes are assigned to the Program, and a Program Description. Click Program name or Program Description to update them.
- Classes - This tab lists the classes assigned to the Program. Click any of the classes to go to the class Details tab.

On the Details tab for a Program, click the Actions menu> Set Up Online Registration to step through the workflow to Create an Online Registration Form for the Program. Each Program will need its own registration form.
Delete a Program
Follow these steps to delete a Program:
- Go to Programs & Classes (left menu) > Programs & Schedules card > View All Programs.
- Click the Program card for the one you want to remove.
- A Program can only be deleted when no classes are assigned. To remove classes, locate the class assigned to the Program on the Details tab, click the Program link, and change which Program the class is assigned to. This will allow you to delete the Program from the list.
- Go to the Actions menu
 > Delete.
 - Click Delete in the Delete window to remove the Program from the system, and it will no longer be visible on the Programs page.
 > Delete.