The base of Jackrabbit Care billing is the Billing Profile which sets the parameters for when a bill is automatically sent and when it's due. Each Billing Profile in a Family Account carries its own balance with an assigned Payer. Fees, credits, and payments are all applied to a specific Billing Profile; the sum of all Billing Profile balances is the total balance for the family.
Billing Profile Details
To locate a family's Billing Profiles, go to Family Accounts (left menu) > Profiles card > View # Active Family Accounts. Select the family and then their Billing tab. Click the Expand icon![]() to see more details about the family's balance, such as the balance for each Payer, last payment date, last invoice date, and the balance owed for each site.
to see more details about the family's balance, such as the balance for each Payer, last payment date, last invoice date, and the balance owed for each site.

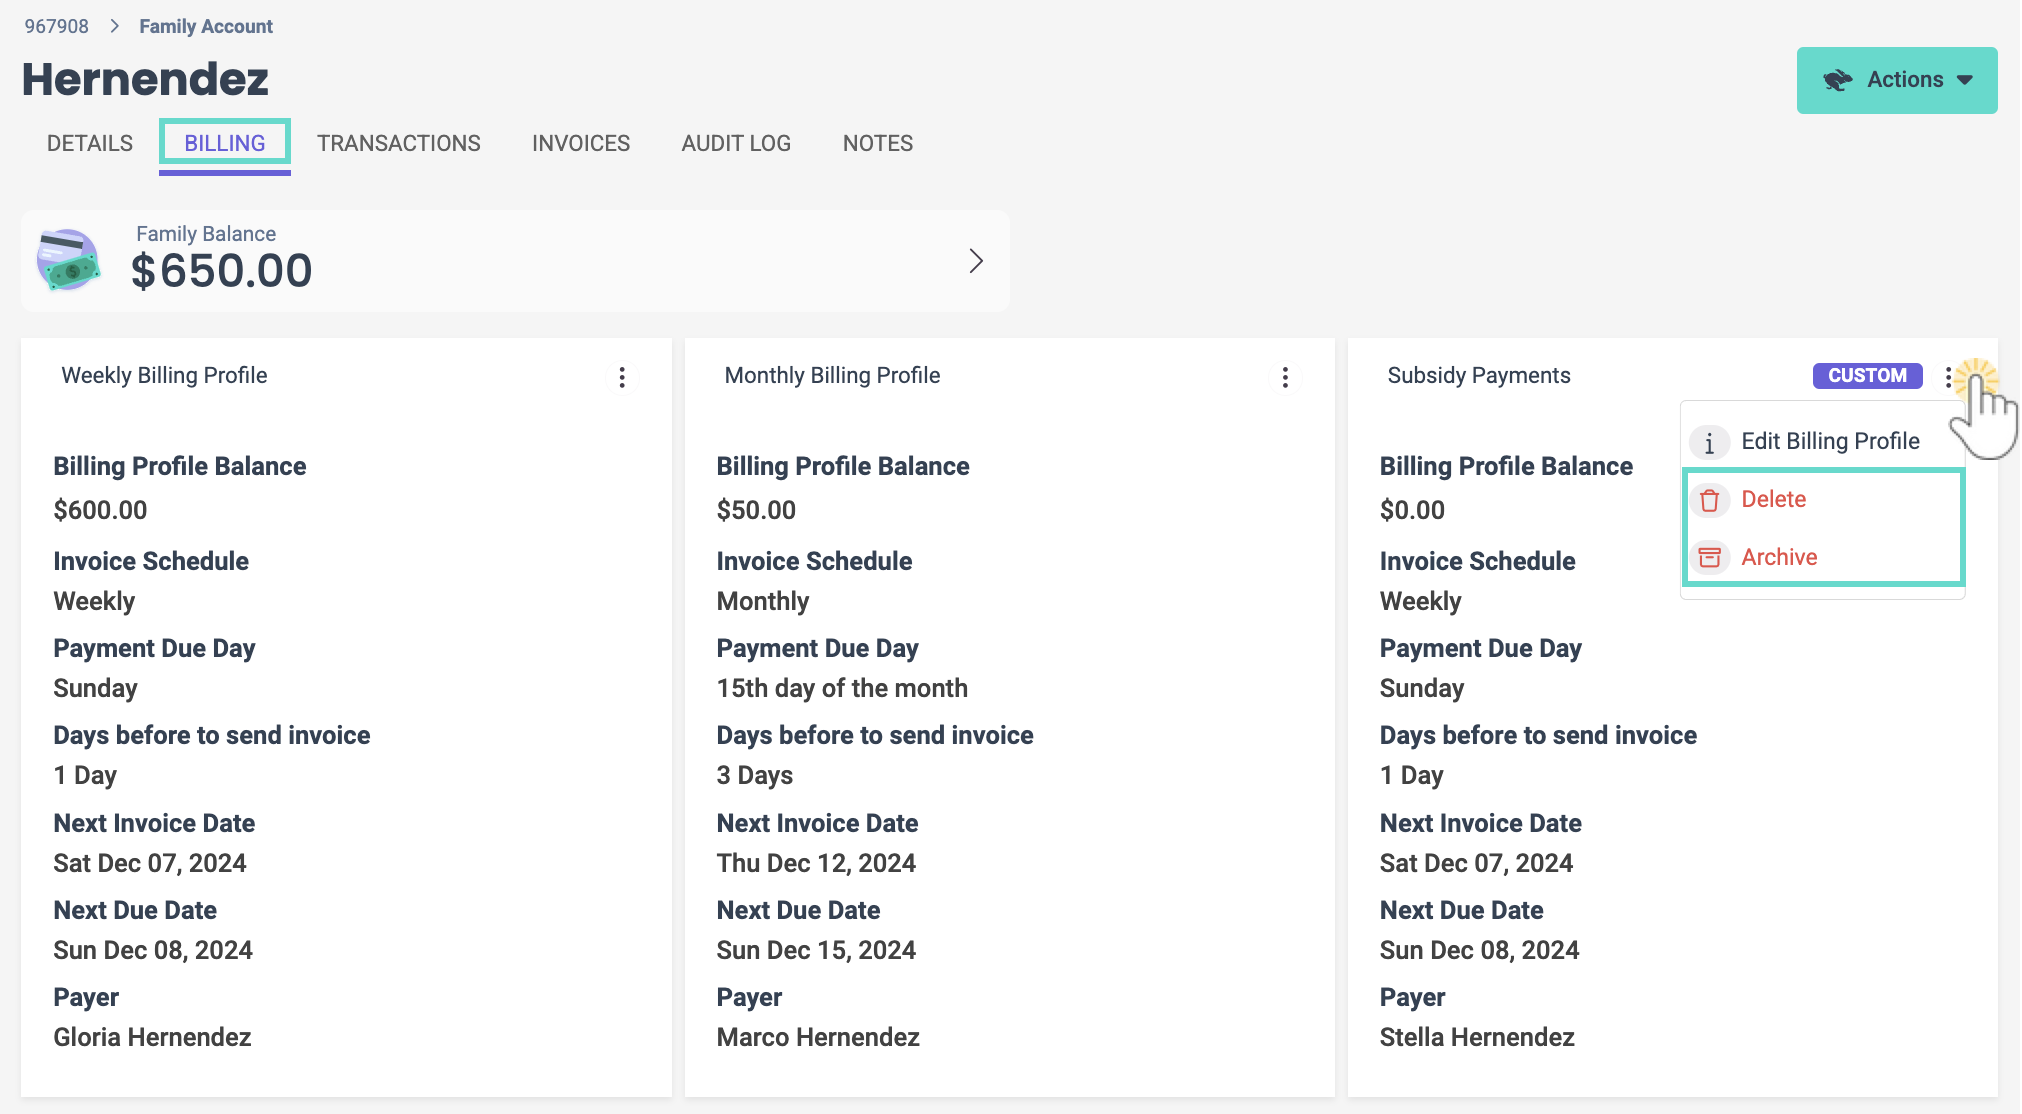
All Billing Profile cards contain the following:
- The name of the Billing Profile.
- Billing Profile Balance - The amount due for the Billing Profile.
- Invoice Schedule - The timing of when invoices will be automatically sent out (monthly, weekly, or bi-weekly).
- Payment Due Day - For a weekly or bi-weekly Invoice Schedule, the day of the week a payment is due is shown. For a monthly Invoice Schedule, the day of the month a payment is due is shown.
- Days before to send invoice - The date when the invoice is sent to the Payer. Between 1-7 days is shown in this section.
- Next Invoice Date - The date when the next invoice is scheduled to be sent to the Payer.
- Next Due Date - The date on which the next payment for the invoice is expected or scheduled to be made.
- Payer - The Payer on the account for the specific Billing Profile.
Payers
A Payer is a person on the family's account responsible for paying the balance. Payers are only responsible for the balance assigned to their Billing Profile, and family accounts can have multiple Billing Profiles.
- The initial Contact in the family defaults to the Payer.
- All Payer's will show a Payer badge
 when viewing the Contact's section for a family.
 - Only one Payer can be assigned to each Billing Profile.
 when viewing the
 Add Another Payer
To add a second payer to a family account, take these steps:
- Create a second contact on the family account if you have not already done so.
- Go to Family Accounts (left menu) > Profiles card > View # Active Family Accounts.
-
Click the Actions menu
 > Add Contact.
- Add the Name, Mobile Phone, and Email for the contact, then click Next.
- Choose the Relationship and set if the contact is a Legal Guardian, Authorized Pickup, or Emergency Contact, then click Save.
- Go to Family Accounts (left menu) > Profiles card > View # Active Family Accounts.
- Select the family and then their Billing tab.
- Click the Options icon
 > Edit Billing Profile on the Billing Profile you would like to assign the new Payer to.
 - Select the additional Payer for the account and click Save.
 > Add Contact.

Although each Payer has their own Billing Profile, charges can still be applied to a single Billing Profile, and payments can be made by either party.
Split Billing
First, ensure the child is already enrolled, but no tuition is set for the class. Then add an additional Payer and assign them their own Billing Profile. Follow these steps to split the tuition for each Payer's Billing Profile:
- Go to Family Accounts (left menu) > View # Active Family Account and select the family.
- Go to the Actions menu> Add Fee.
- Select New Tuition Fee and click Next.
- Select the child under Search Families or Children and click Next.
- Change the Tuition Fee Amount to 1/2 of the tuition and click Next.
- Finish these steps before clicking Complete Fee:
- Select the first Payer and select a Billing start date, then click Next.
- Optionally, add a Billing end date, or leave this toggle off if you want the billing to end when a child drops the class or the class ends.
- Select Dates of Service (optional).
- Add a One-Time adjustment fee (optional).
- Add a Discount (optional).
- Repeat these steps for the second Payer who is splitting the tuition.
Add a Billing Profile
Billing Profiles are automatically displayed on the Billing tab. Add additional Billing Profiles by doing the following:
- Go to Family Accounts (left menu) > View # Active Family Account and select the family.
- Go to the Actions menu> Add Billing Profile.
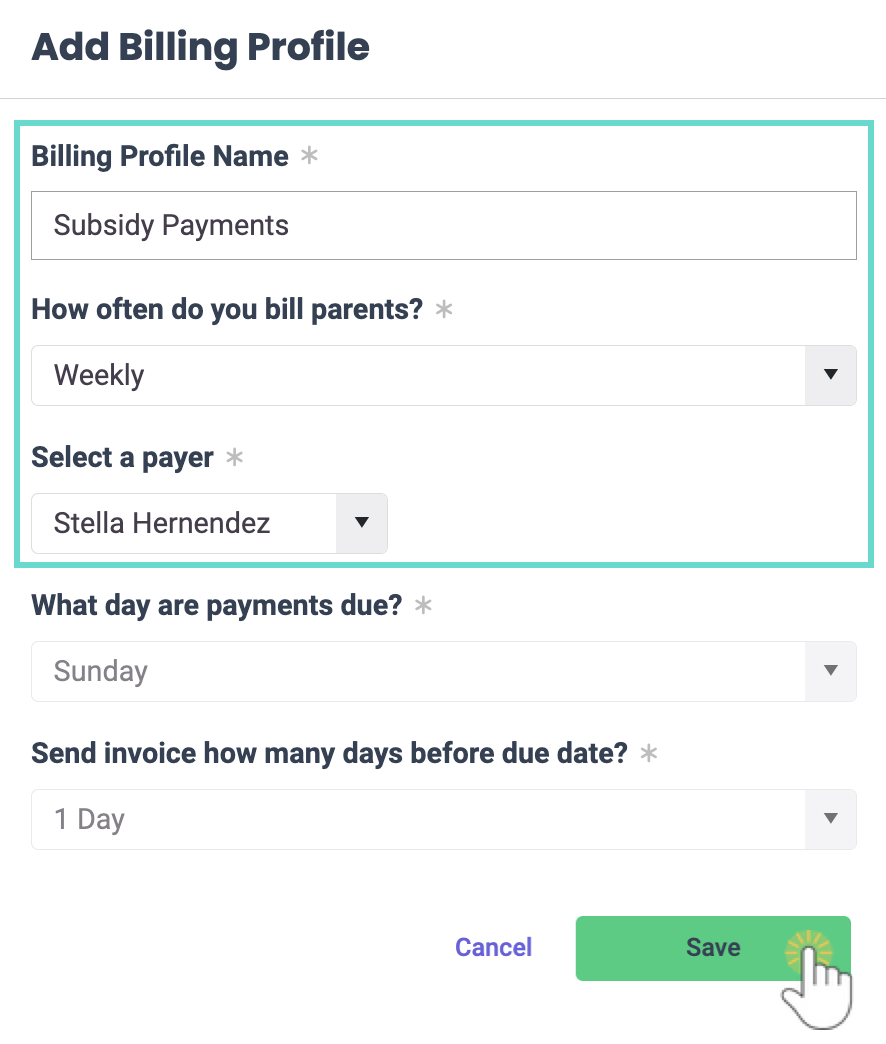
- Set the following information before clicking Save:
- Billing Profile Name - The name that will appear on the Billing Profile.
- How often do you bill parents? - Select Weekly, Monthly, or Bi-Weekly.
- Select a payer - The contact on the account responsible for the Billing Profile.

Additional Billing Profiles will display with a Custom badge ![]() .
.
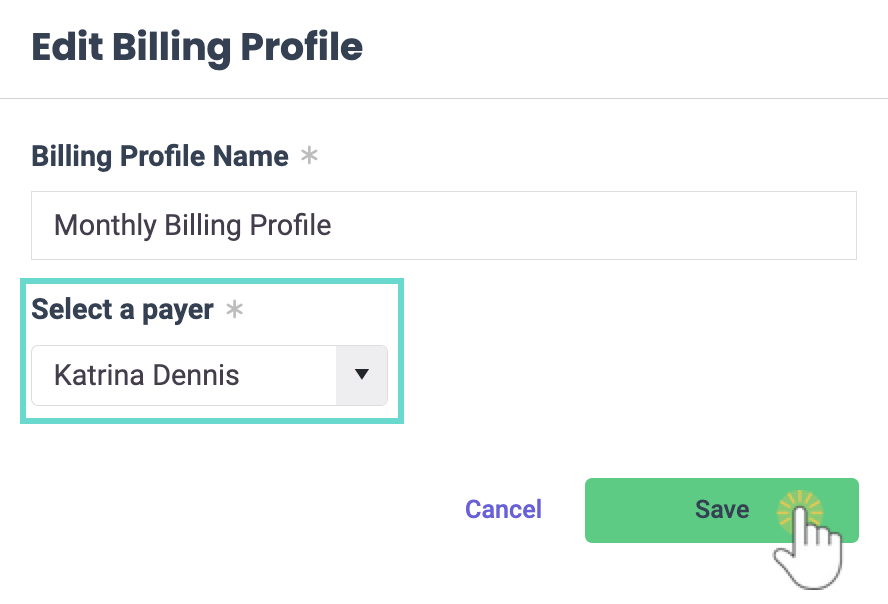
Edit a Billing Profile
- Rename a Billing Profile.
- Change the Payer for a Billing Profile.

Delete or Archive Custom Billing Profiles
- Delete - Completely remove the Billing Profile if it is not currently in use or has a balance.
- Archive - This will hide the Billing Profile when adding new fees or payments for the account, but it will still be visible on financial reports.