Custom Questions can be made and then added as a required step during Online Registration to help gather additional information from families to make a decision about enrollment. They are then kept on the child's file for future reference. To view Custom Questions, go to Medical & Compliance (left menu) > Documents card > Custom Questions. Use Custom Questions to:
- Ask questions that are unique to your business's registration or enrollment requirements.
- Confirm a family's eligibility based on their answers.
- Use as a reference on a child's file.
Create a Question
Follow these steps to add Custom Questions. Add up to ten Custom Questions that can later be added to Online Registration forms.
- Go to Medical & Compliance (left menu) > Documents card > Custom Questions.
- Click the Actions menu
 > New Question.
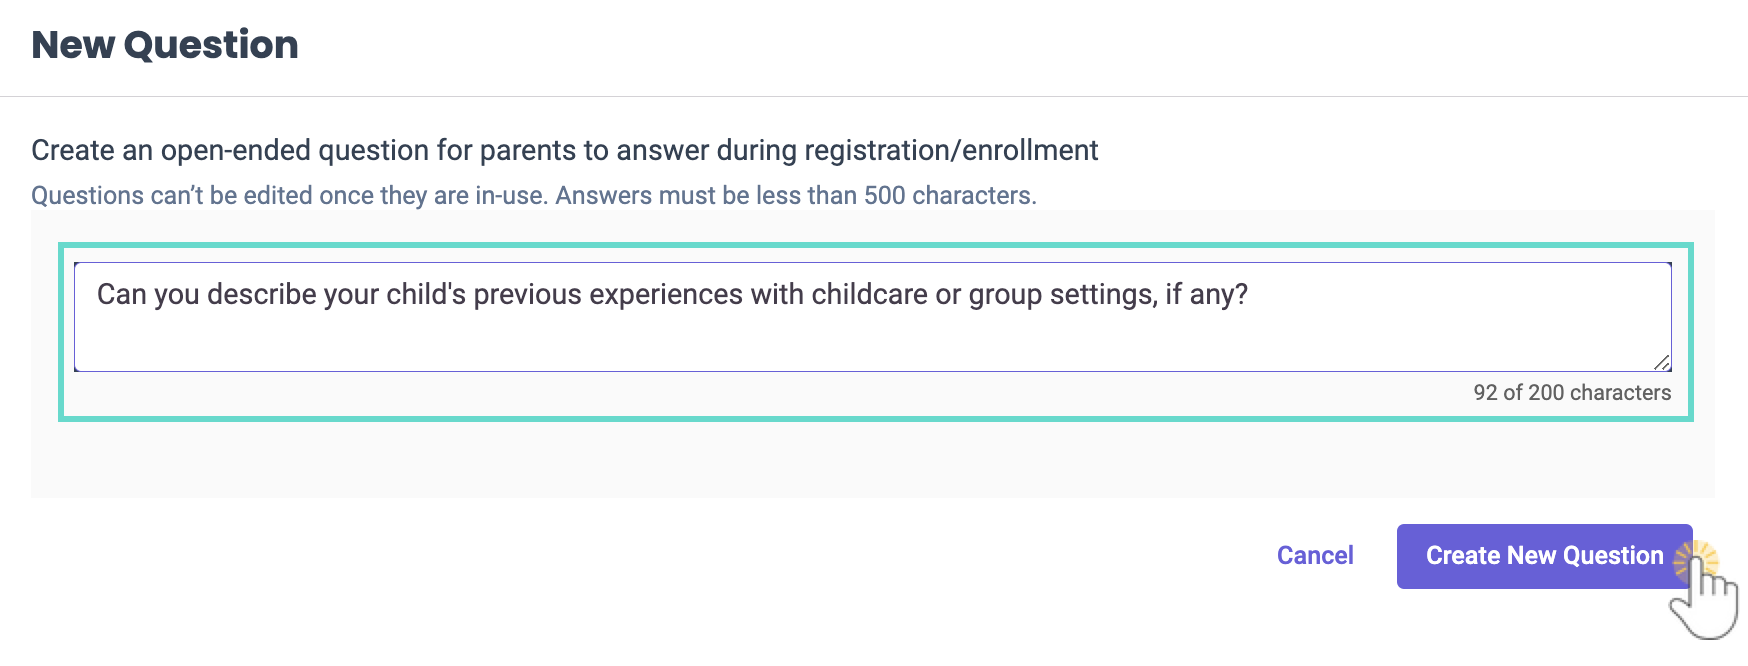
 - Enter your question in the New Question window and click Create New Question.
 > New Question.
You may also add a new question when adding required steps while Creating an Online Registration Form.
Edit a Question
Custom Questions that are not in use by any can site for an Online Registration form can be edited.
- Go to Medical & Compliance (left menu) > Documents card > Custom Questions.
- Click the Options icon
 on the Question card, then select Edit.
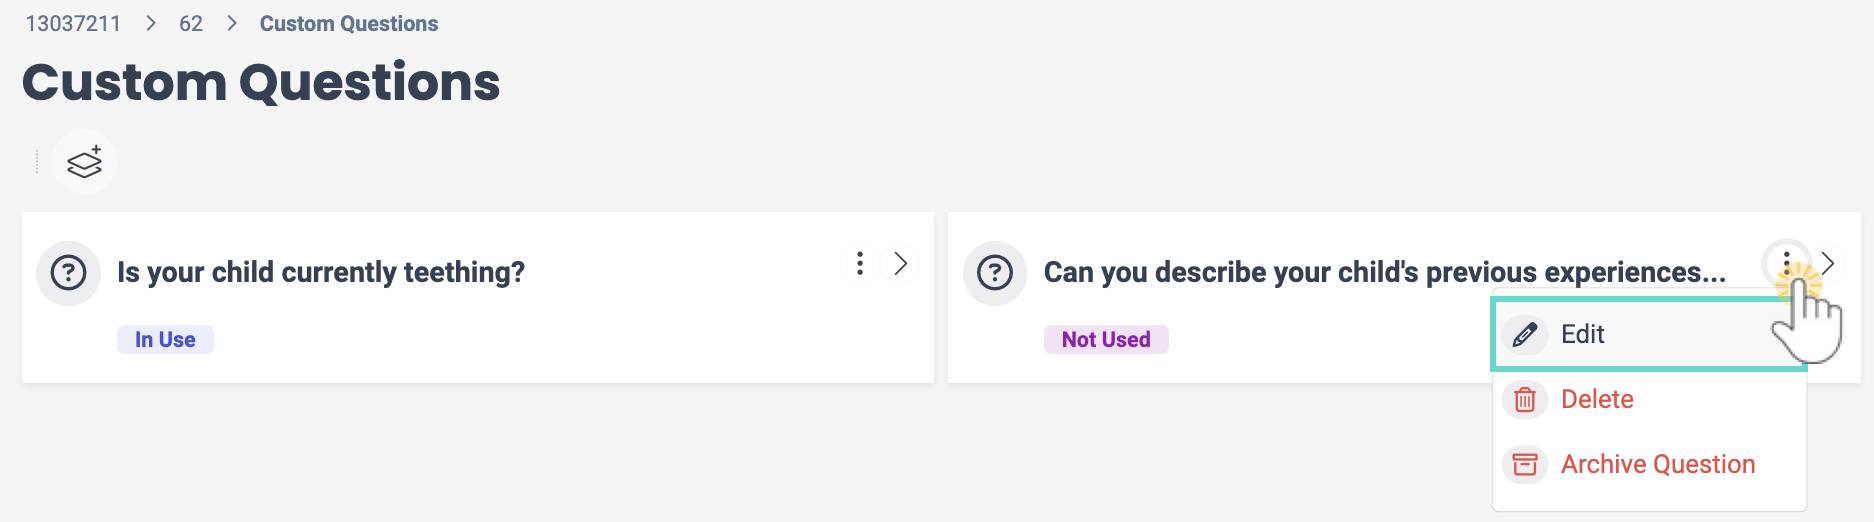
- Make any edits to the question text and click Save Question.

Delete a Question
Custom Questions that are not in use by any can site for an Online Registration form can be deleted.
- Go to Medical & Compliance (left menu) > Documents card > Custom Questions.
- Click the Options iconon the Question card, then select Delete.
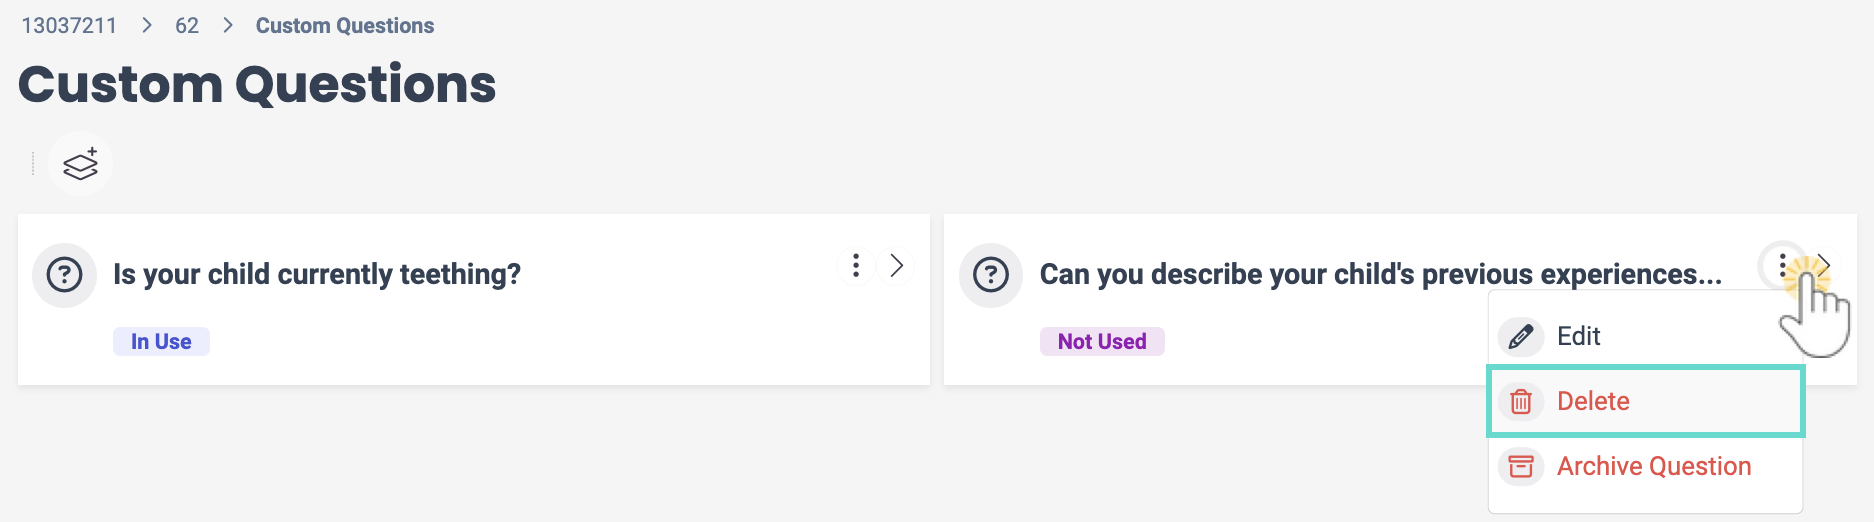
- Confirm you want to delete the question by clicking Delete.

Archiving Questions
Custom Questions that are not in use by any can site for an Online Registration form can be archived. Archived questions can be viewed for historical purposes or reinstated to be used again.
Archive a Question
- Go to Medical & Compliance (left menu) > Documents card > Custom Questions.
- Click the Options iconon the Question card, then select Archive Question.
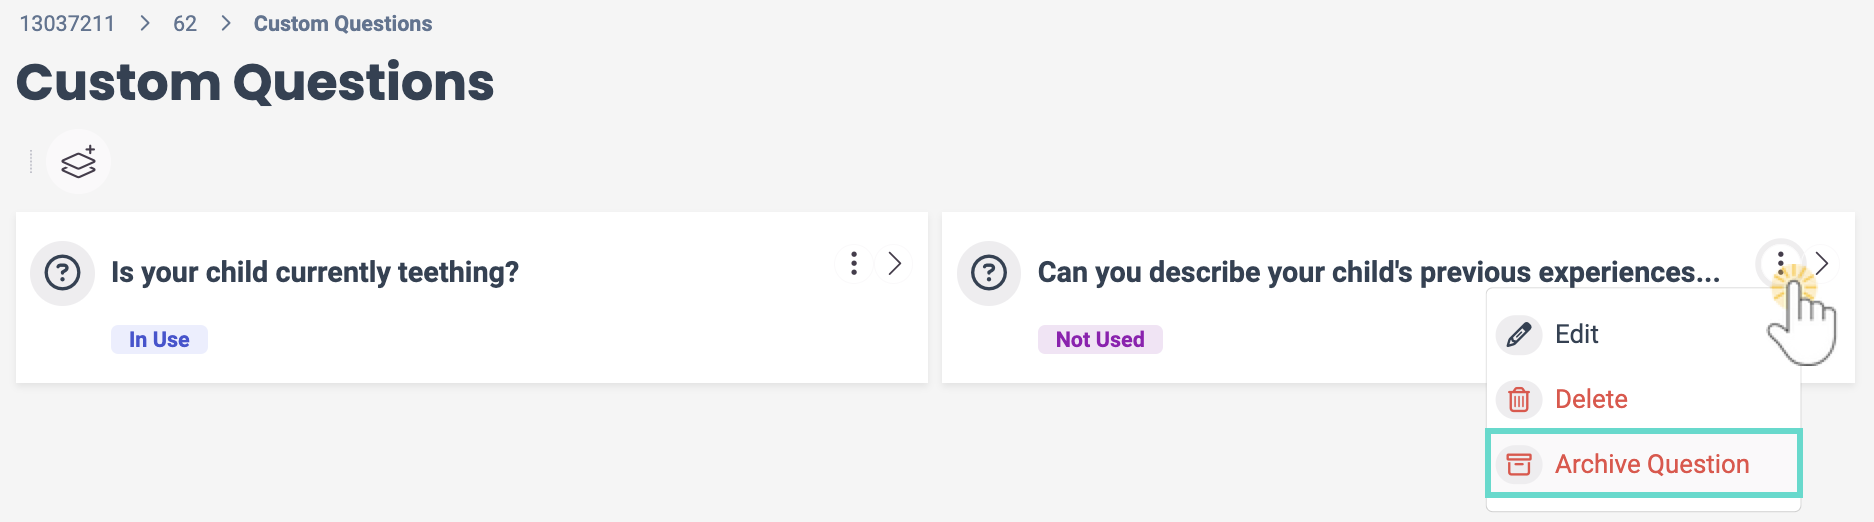
- Type ARCHIVE in the Archive Question window, then click Archive.

View Archived Questions
- Go to Medical & Compliance (left menu) > Documents card > Custom Questions.
- Click the Actions menu> View Archived Questions.


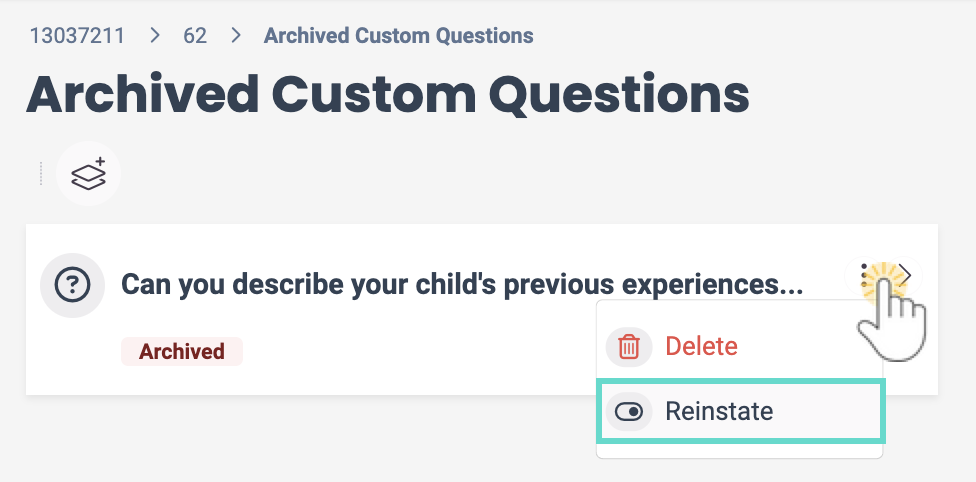
Unarchive a Question
- Go to Medical & Compliance (left menu) > Documents card > Custom Questions.
- Click the Actions menu> View Archived Questions.
- Click the Options iconon the Question card, then select Reinstate.

See Answered Questions
On a Completed Registration
Once a family answers questions during Online Registration, follow these steps to see their answers on the Online Registration form:
- Go to Enrollment (left menu) > Online Registration card > View Recieved Registrations.
- Go to either the Pending or History tab to find the registration, based on if the registration has been approved or not.
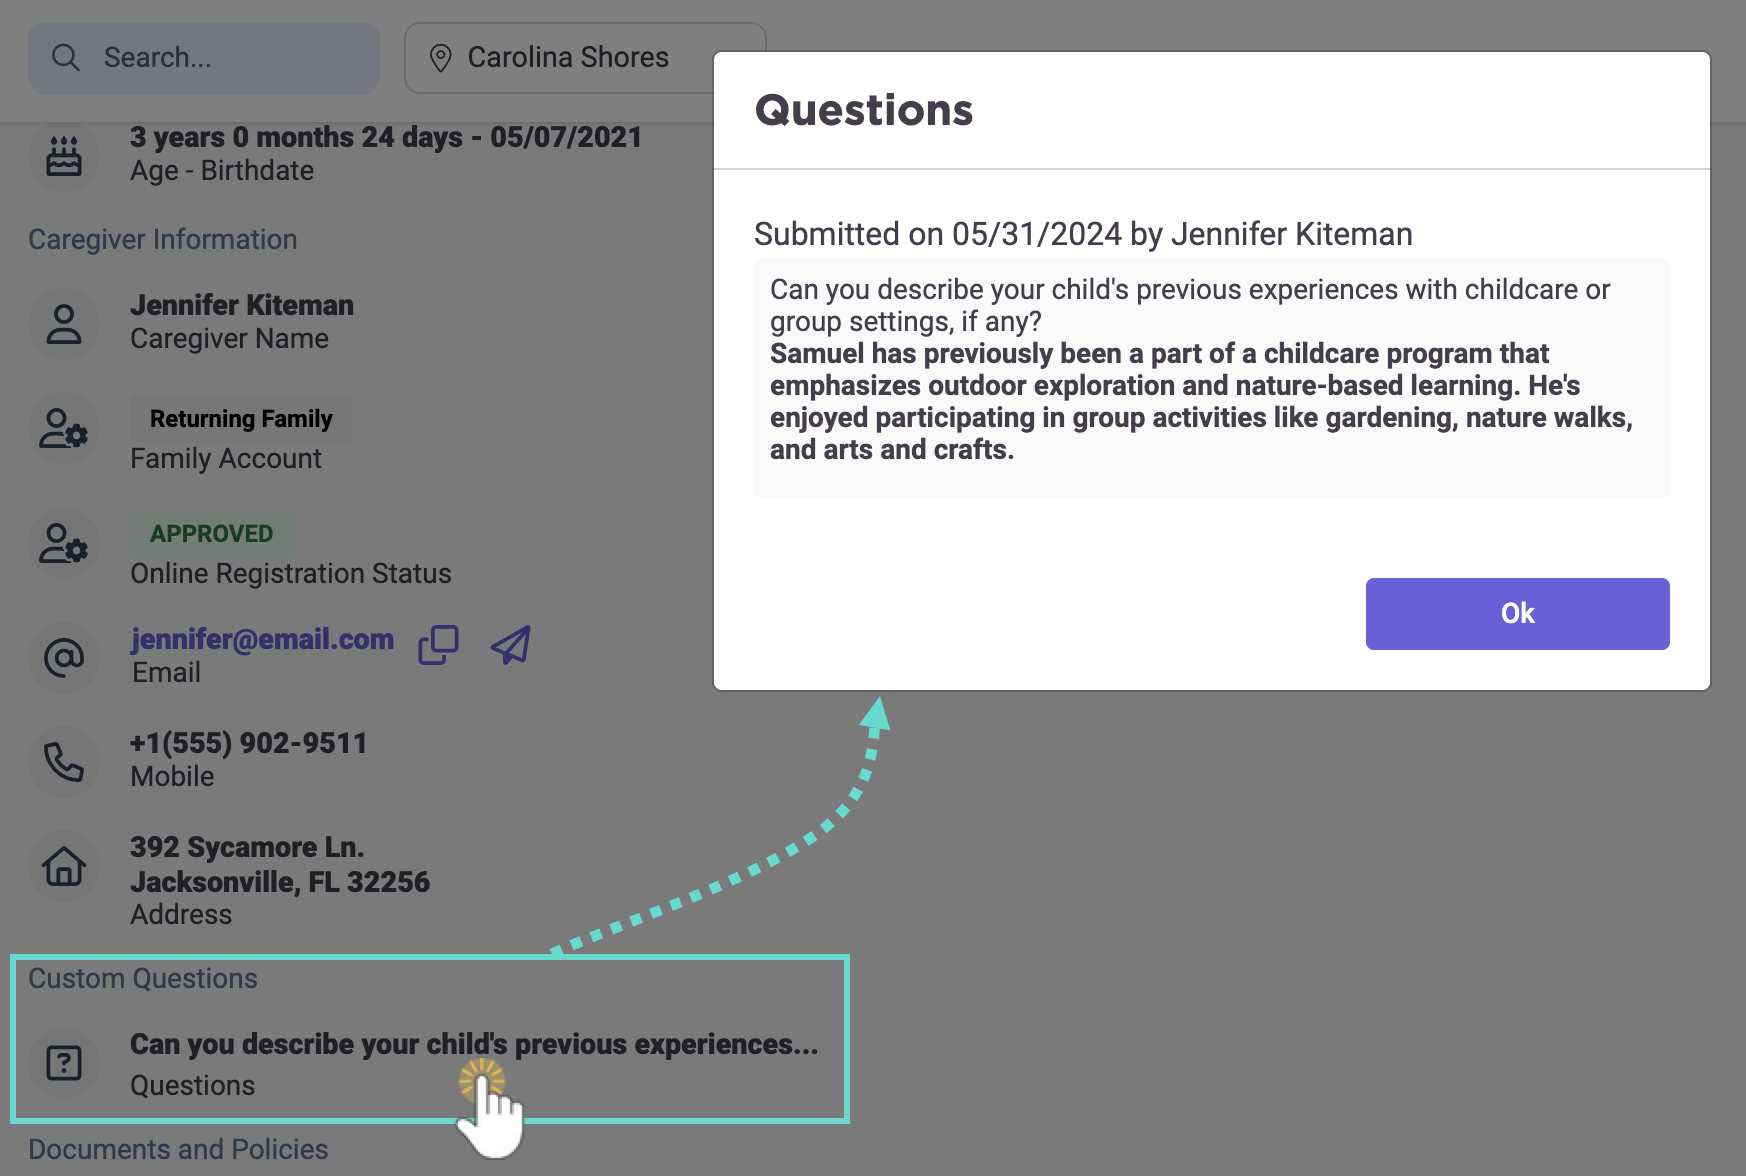
- Click Review if the registration is on the Pending tab or View if the registration is on the History tab.
- Find and click the Custom Question you would like to review. The Custom Question will open in a new Questions window.

From a Child's Account
After a child is enrolled, follow these steps to see a family's answers on a child's account:
- Go to Family Accounts (left menu) > Profiles card > View # Active Family Accounts.
- Select the family card for the child you want to see, then click the child's name in the Children section.
- Click the Custom Questions tab.
- Find the Registration and Program, then click the View icon
 on that line.
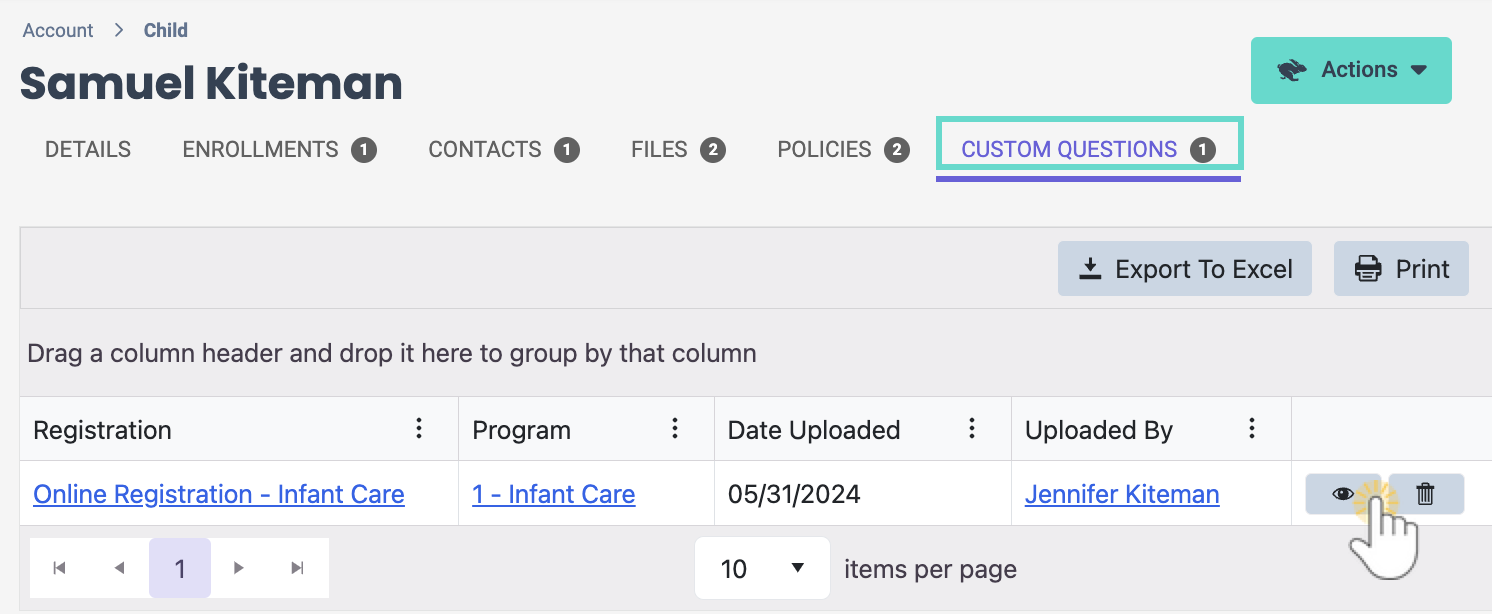

To delete previously answered questions from a child's account, click the Trash icon![]() .
.
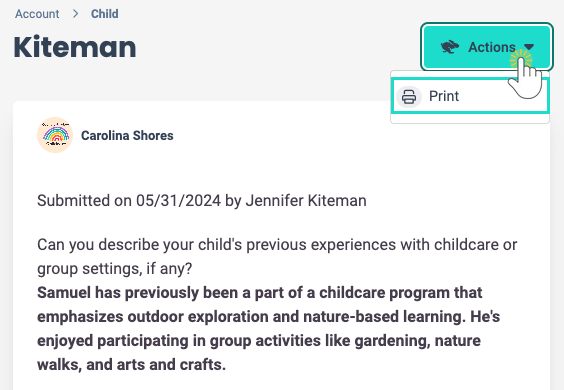
Print Answered Questions
Follow these steps to print answered Custom Questions from families:
- Go to Family Accounts (left menu) > Profiles card > View # Active Family Accounts.
- Select the family card for the child you want to see, then click the child's name in the Children section.
- Click the Custom Questions tab.
- Find the Registration and Program, then click the View iconon that line.
- Go to the Actions menu > Print.