It's easy to keep track of required documents and files in your family accounts. A File Type is created under the Medical & Compliance menu and can be added as a required document for an Online Registration form.
All uploaded document files, whether submitted online by parents or added by an Owner, Administrator, or Site Administrator, are stored and found by going to Family Account > Child > Files tab.
Create a New File Type
Follow these steps to add a File Type. Add as many as you need for your Online Registration form.
- Go to Medical & Compliance (left menu) > Documents card > Manage File Types.
- Click the + New File Type button to open the File Type window.
- Enter a required File Type Name.
- Select a required Category from the drop-down list.
- Enter Instructions or Description.
- Enable and add an Expiration date when applicable.
- Click Create File Type. A popup message will confirm it's been added to the File Type page. Now it's ready to be used for the Online Registration form!


Edit a File Type
File Types can be updated as needed.
- Go to Medical & Compliance (left menu) > Documents card > Manage File Types.
- Click the Edit link on the File Type card you wish to make changes to.
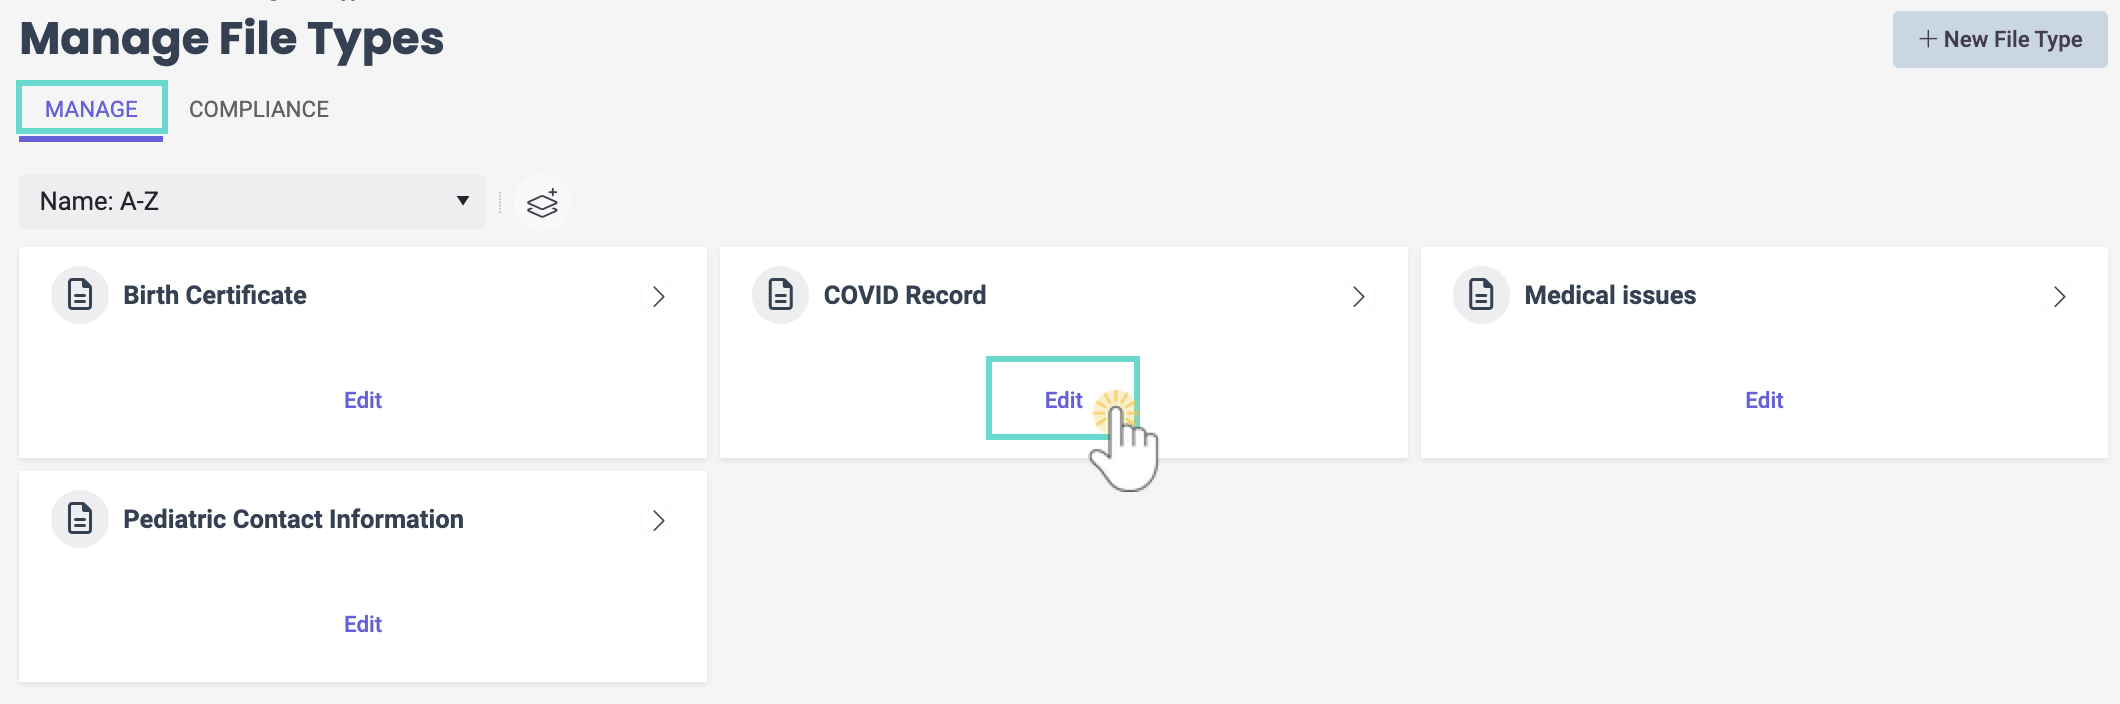
- Click Save File Type to complete the changes.

Manage File Compliance
Go to Medical & Compliance (left menu) > Documents card > File Compliance to see files that have been uploaded for children during the Online Registration process.
Use the following features found on the Compliance tab:
- Use the Column Menu icon
 to sort, filter, add, or remove columns, or set the column position. Click the column header and drag and drop it to the top of the report to group the report by that column type.
 - Click Export To Excel or Print the grid as needed.
- If an expiration date was set when a File Type was added, see an Expired badge
 when it is set for renewal.
 - Click the child's first or last name to go to their Details page, or click a contact's name in the Uploaded By column to go to their Details page.

